No products in the cart.
Pet Doors
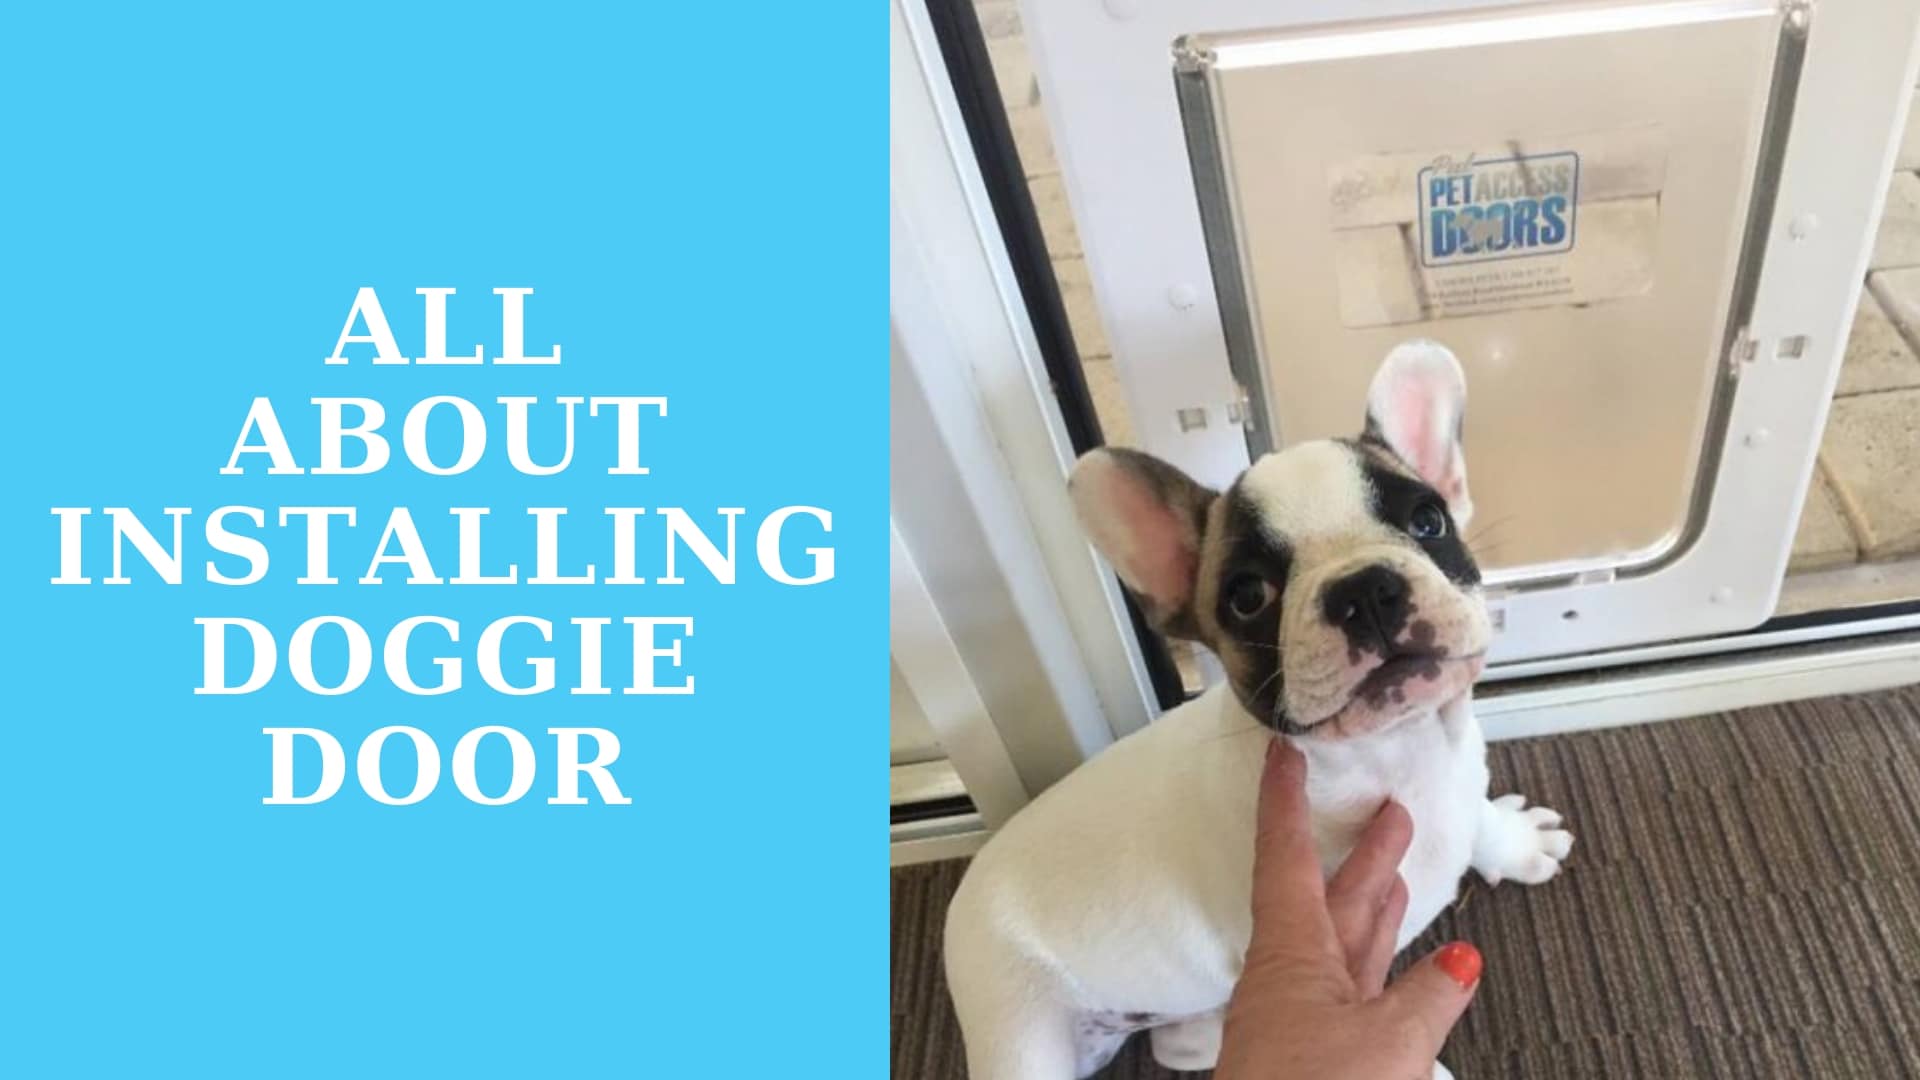
Installing doggie door
Making your home a haven for pets takes careful planning. The one thing most houses don’t come with during construction is a doggie door. When a homeowner moves in with a pet, installing doggie doors is one thing that is easily forgotten or pushed back as a future project.
If you are adept with tools, wood, and following instructions, a DIY will usually buy a prepackaged pet door and install it themselves. Most pet door packages contain a step by step guide.
What do you usually need to install a door for pets?
You might need:
Hammer, jigsaw, drill and bits, wire cutter, screwdriver, tape measure, pencil, level, scissors, duct tape, caulk, stud finder, framing square.
It is best to read the door’s manual as each type are packaged differently. Not yet overwhelmed?
Before the installing, measure your pet correctly to know which pet door size to get. Getting a too small size door will be useless. While getting one that is too big, can invite burglars or other animals inside the home.
Installation process:
Measure your pet and trace the outline to the wall or door. Some package contains a pattern that you can stick to the wall for guidance. Time to cut a hole on both sides of the wall. Install pet door frame and flap.
Sounds easy? If you have a wooden door or wall, it should be easy for the seasoned DIYer. But, what if you have a glass door? What if you want to install it on a glass window for your pet cat?
Hiring a qualified glazier will ensure that installation is done right. Visit our online store (enter link to store) and browse through the different doggie doors we supply. Give us a call for booking.